So, you’re a musician looking to add to what you can offer your new and existing fans plus create a new revenue stream. Well, the best way to do so, other than releasing new music and playing shows, is to create your own merch that can help establish your brand identity and connect with your fans, and while it may be tempting to buy stock and send designs off for print, don’t! There is a much better and more cost-effective way to achieve the same result.
To get started creating your own branded merchandise it is as simple as following these 6 simple steps:
- Identify your target audience that will buy your merch (this can be your followers on social media, your email list, and so on)
- Find the best print on demand service provider
- Start designing
- Create your merch store
- Promote your merch to an audience
So today I’ll show you how to create merch and sell directly to your fans via your own online store or a third-party mini-website/page.
The service we’ll use is called Printful, a well-known Print on Demand Ecommerce platform, which means that you don’t have to pay a penny to have your merch made until you sell something (things are looking up aren’t they? and we haven’t even started 👍)
With Printful you can sell pretty much anything with your logo on it and also upload your own designs, t-shirts, jumpers, hoodies, mugs, and socks. tote bags you name it, so without further due let’s get started creating your merch store.
Step #1 – Sign up for Printful
Before you can start creating custom merchandise you’ll need to sign up for for free Printful account.
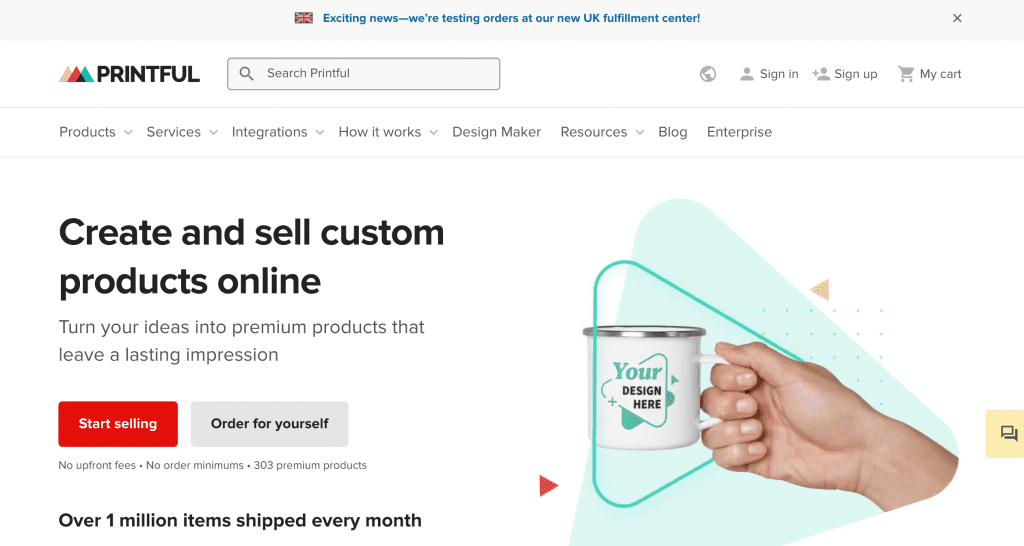
First head over to printful.com and hit sign up.
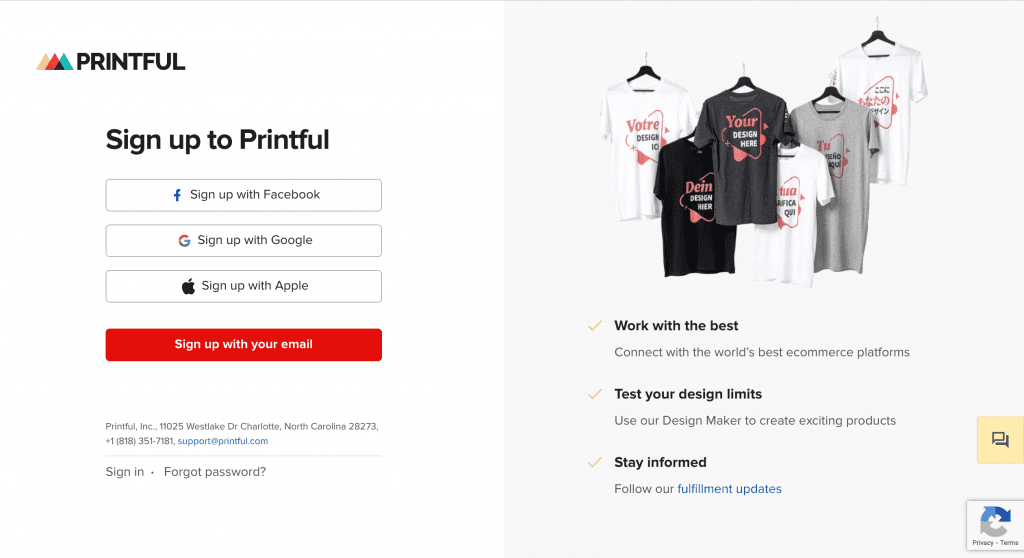
You’ll have the option to sign up using your Email Address, Google, Facebook or Apple ID
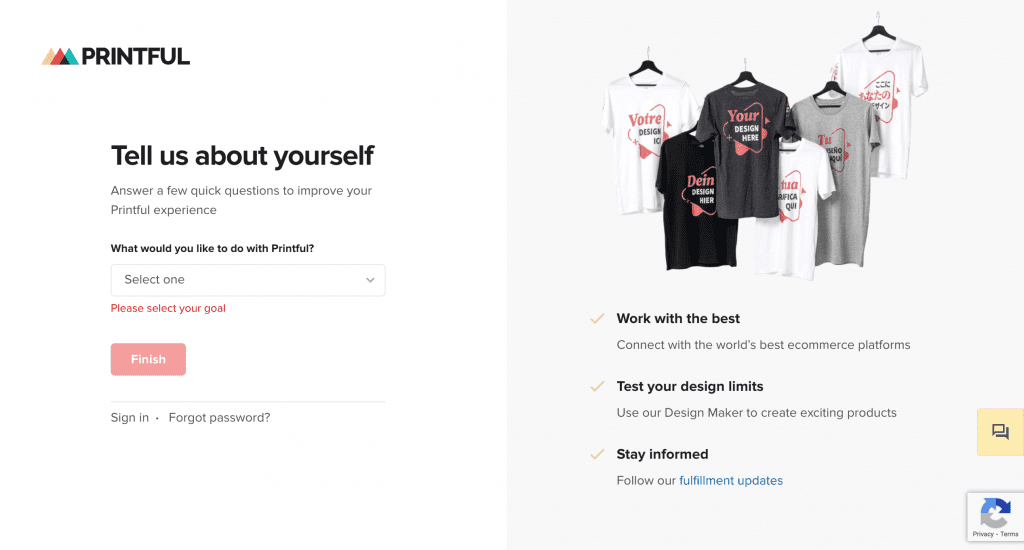
Next you’ll need to answer a few questions about how you plan to use Printful, some of the options available are:
- Order custom products for myself and my team
- Grow my existing online business
- Start my first online business
- Sell merchandise to my followers
- I’m just playing around
Once you have finished the signup process, you’ll be taken into the dashboard where you’ll finish the rest of the setup process.
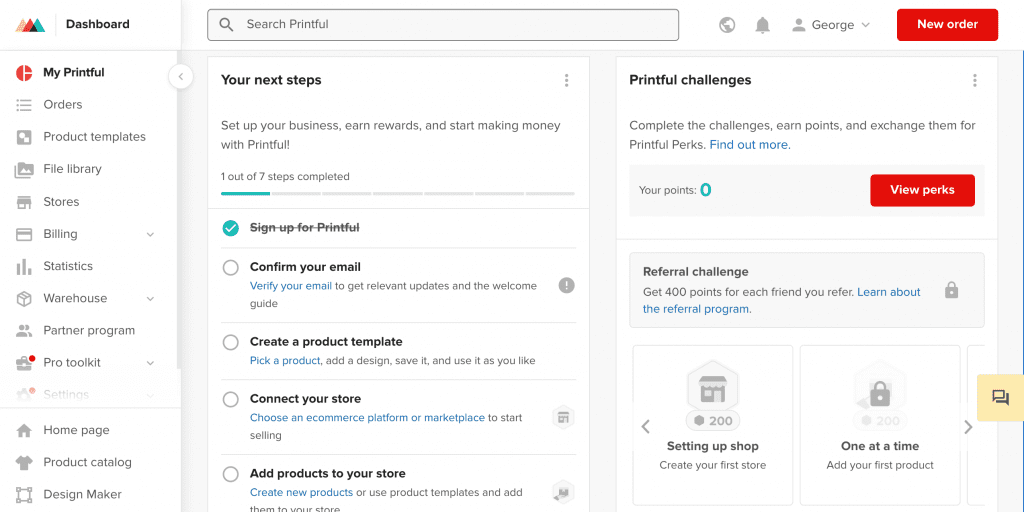
Step #2 – Confirm your email address and set up product templates
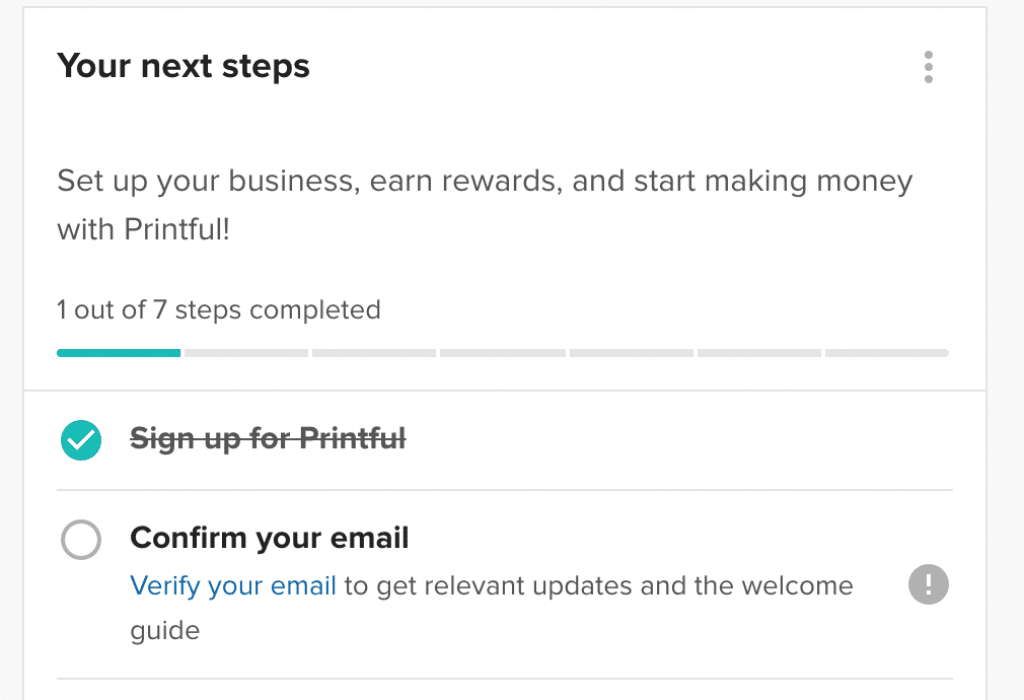
First hit verify your email address and you’ll be sent a link to your inbox to verify your account. and now we’re onto the fun part, designing custom merch, for this example we’ll design a t-shirt using the Your Local Musician logo.
Step #3 – Create your first product
Next hit pick a product under “create a product template”

Now go down to the bottom of the page and select “Create your first product template”.

Now you need to choose what type of t-shirt you want to design, is it for men or women? for this tutorial we’ll design a standard men’s t-shirt.
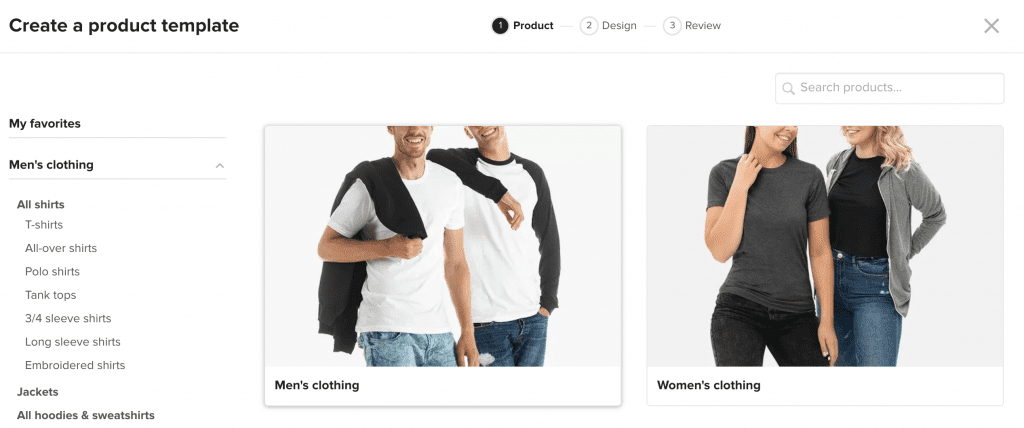
For this example, we’ll select men’s clothing.
And then hit T-shirts.
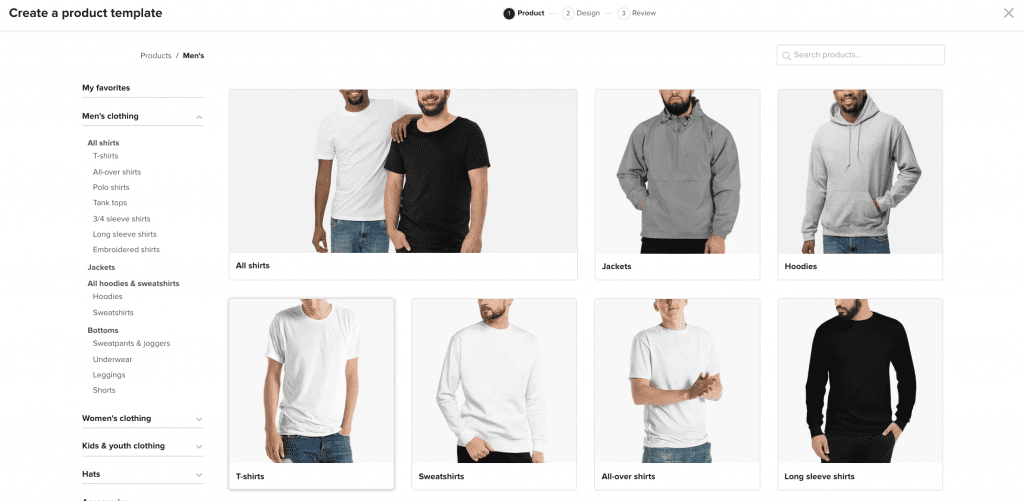
From here you can select what kind of t-shirt you want your merch to be printed on.
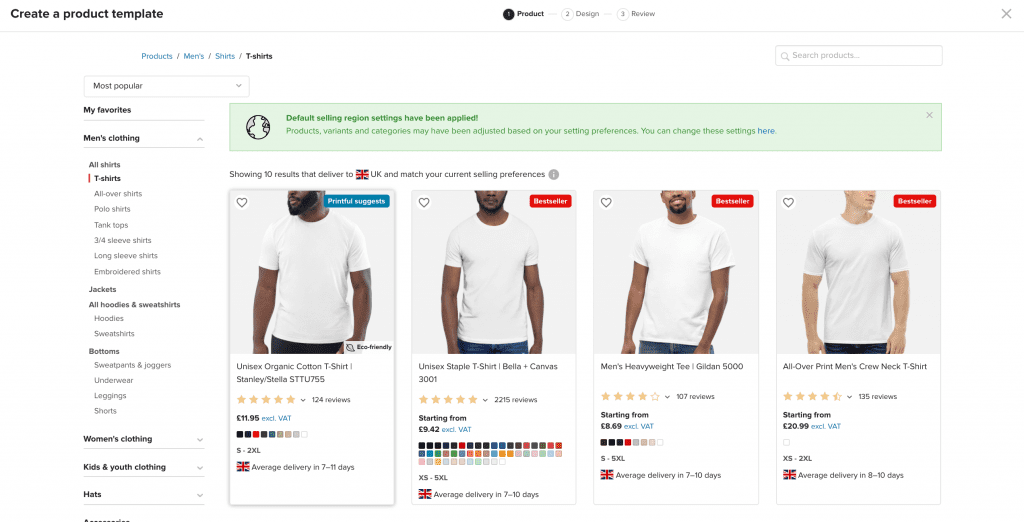
For our design we’ll go with the first option Unisex Organic Cotton T-Shirt | Stanley/Stella STTU755, which printful themselves recommend.
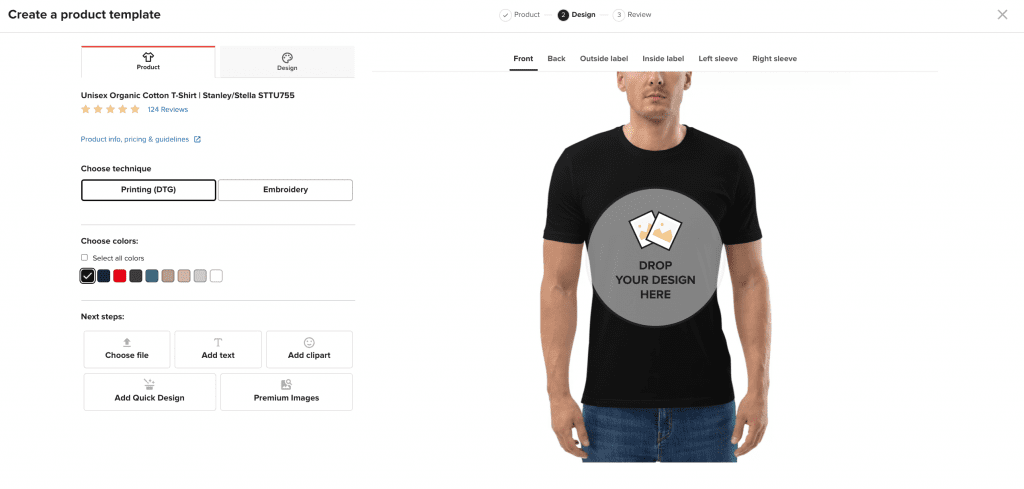
By default, the color selection will be black, but you can easily change the color of the t-shirt by selecting “choose colors”.

For our design, we’ll stick to the color black.
You can also choose between printing and embroidery, if you don’t know the difference, i’ll explain it below.
What is the difference between printing and embroidery?
When you choose printing your design will be printed directly onto the t-shirt via a laser printer, this option is often preferred as it is more cost-effective, choosing embroidery means that your design will be sewn on making the design more durable, longer-lasting, but more expensive.
For now, we’ll select printing.

Step #4 – Upload your design
For our t-shirt, we want to upload our logo and align the image so that it is perfectly centered.
To upload your design select “Choose file” in the bottom left hand corner of the screen.
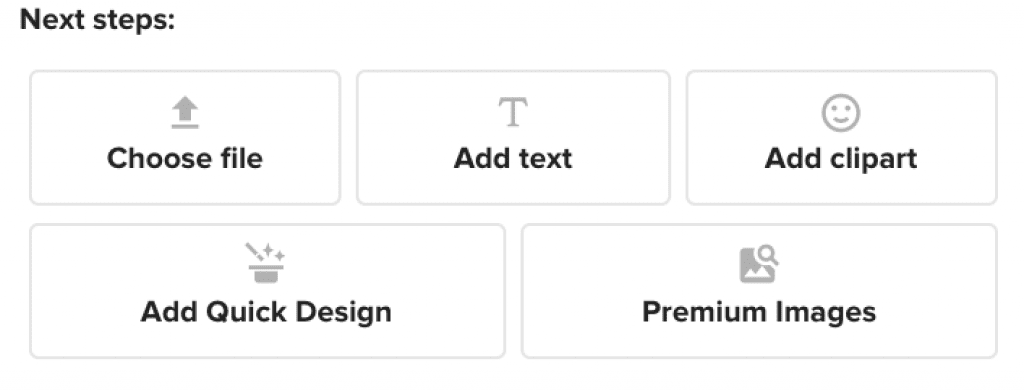
Once you have selected your logo and uploaded it onto Printful, you’ll be redirected to the media library selection and will need to select your image and then hit place by placing your cursor over the image.
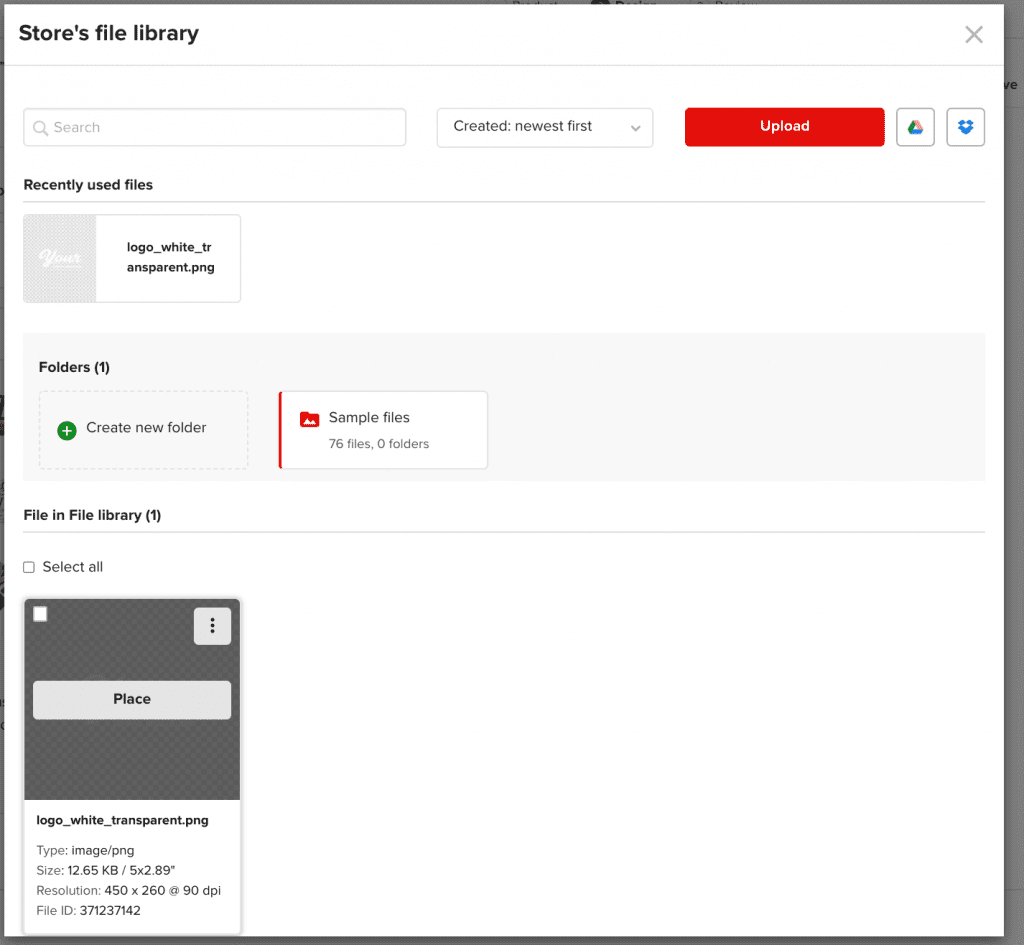
Once you have placed the image onto the blank t-shirt, by default the image might appear small like ours does below, but don’t worry this can easily be fixed with some minor edits.

Place your cursor at either corner of the image and drag to the left or right to increase the size.
Once you have increased the size of your logo, you can then select and hold the image, and then drag it up to center it.
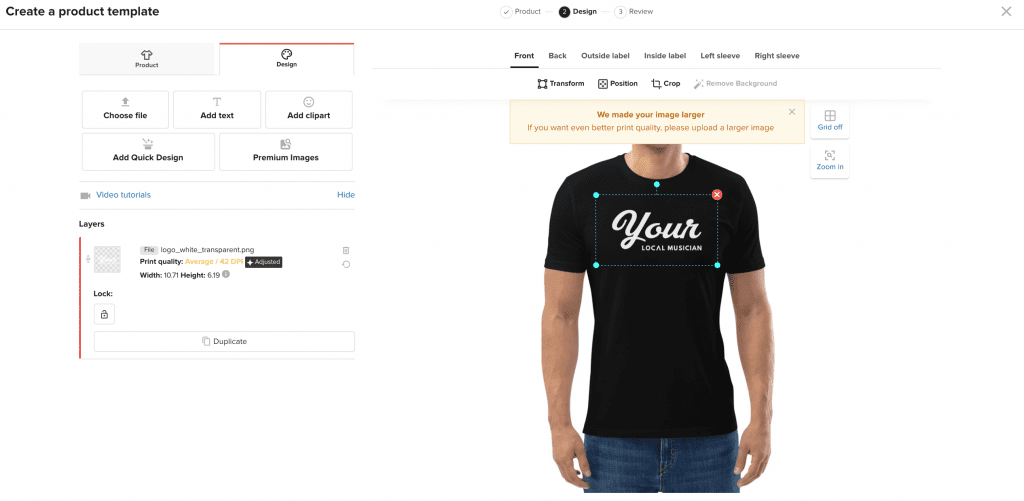
After the image has been corrected, our design is pretty much done, you can also choose to add images to the back, outside label, inside label, left sleeve, and right sleeve, but for this example, we will keep our merch design simple and stick with just our front-facing design.
Now that we’re satisfied with how the design looks, to get to the next stage we need to click “continue” in the bottom left-hand corner of the screen.

Next in the process is finalizing the product template, and design, this is where you can enter a name for your product, and also add the sizes that you would like to make available.
Hit add sizes and tick the sizes you want to make available for your fans to buy.
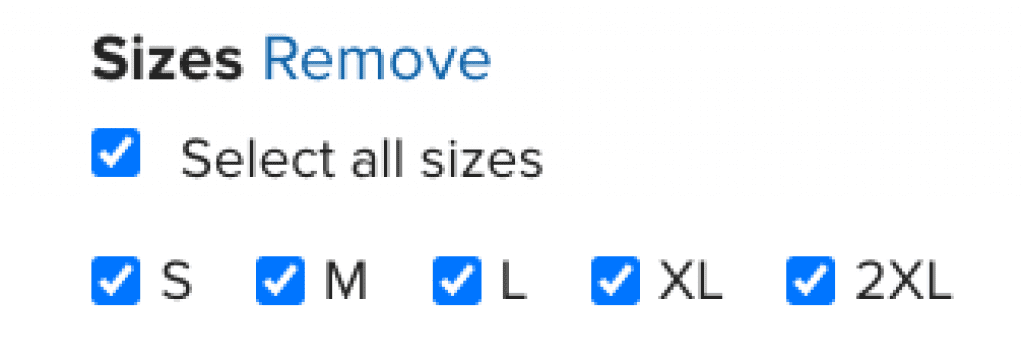
And from here we can now finalize the product template by hitting “save product template” in the bottom left-hand corner of the screen.
Now that we have a product template, we can choose to view it or add it to our store, hover over the product
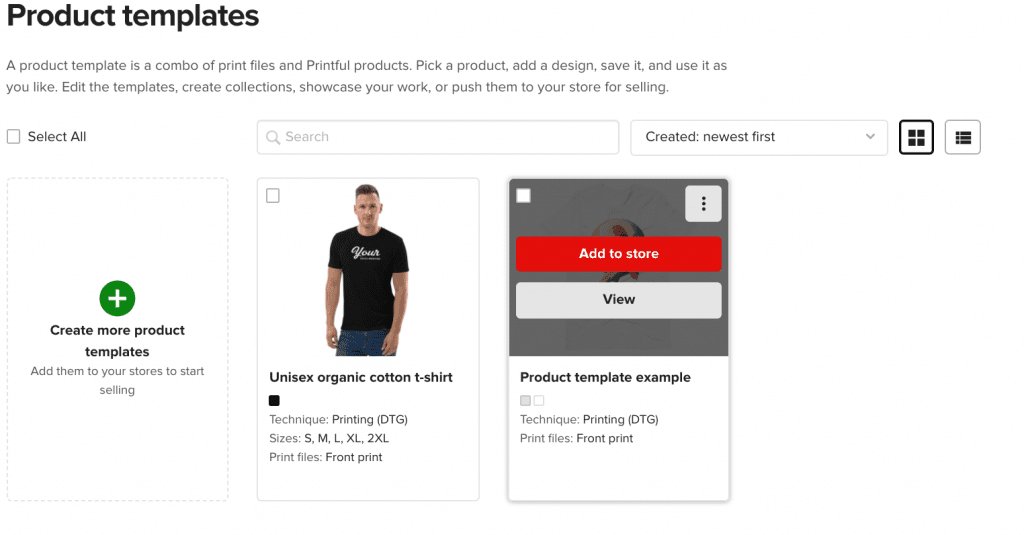
Next in the process would be to connect Printful to our website platform so that we can sell our merch on our website.
Start by hovering over the product template and hit “Add to store”.
Step #5 – Connecting Printful to your website
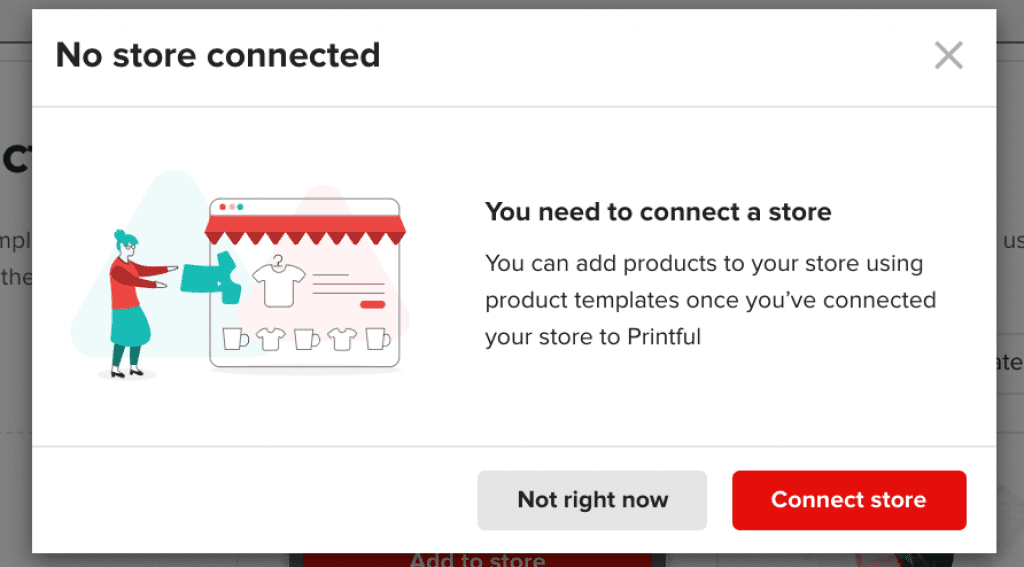
Hit “Connect store” to starting setting up the Printful API with your website platform.
Printful is able to integrate with various different platforms such as the following:
- WoCcommerce
- Shopify
- Wix
- Squarespace
- Magento
To see a complete list of Ecommerce platforms click here.
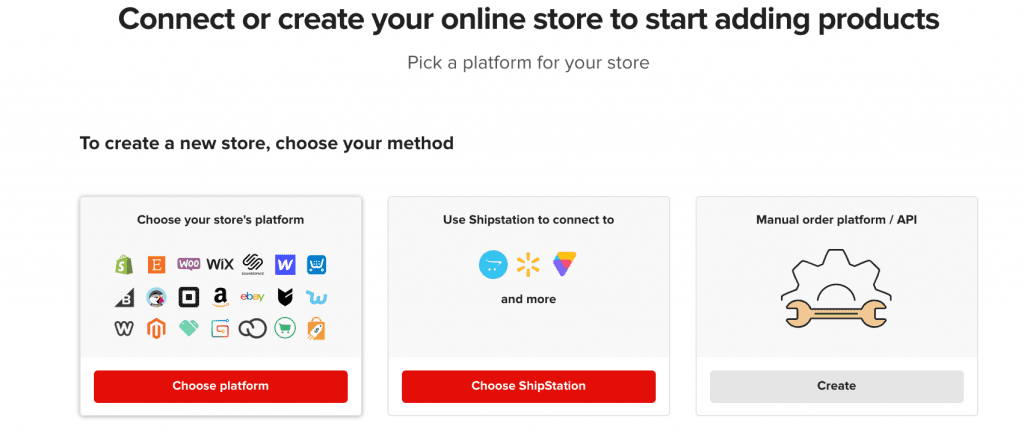
Your Local Musician is run on WooCommerce so for this example we’ll choose that.
Start by hitting “Choose platform”.
Next we’ll choose WooCommerce from the list of available eCommerce platforms.

For this example we already have an existing store to connect to, so the next step is simply installing the Printful WordPress plugin and connecting to the API.
Printful has a very in depth guide on how to do this from that will ensure you don’t run into any issues.
You can read the guide here and get your website fully connected.
But to explain it quickly follow the steps below:
- Upgrade your WooCommerce to the latest version
- Enable REST API in your WooCommerce settings
- Make sure that permalink settings are not set to Plain
- Install the Printful plugin
- Connect your WooCommerce to Printful
- Start adding products
Watch the video tutorial below from the Printful YoutTube channel.
Through watching the video above you will now know that when you connect your store to the Printful API it can take care of all shipping requirements for you and even sends the order directly to Printful, meaning that you don’t to have do anything to fulfil the order.
All of the order information is sent directly to printful to take care of.
Next you can start adding products to your store, go back to “My Printful” in the dashboard and hit create new products.
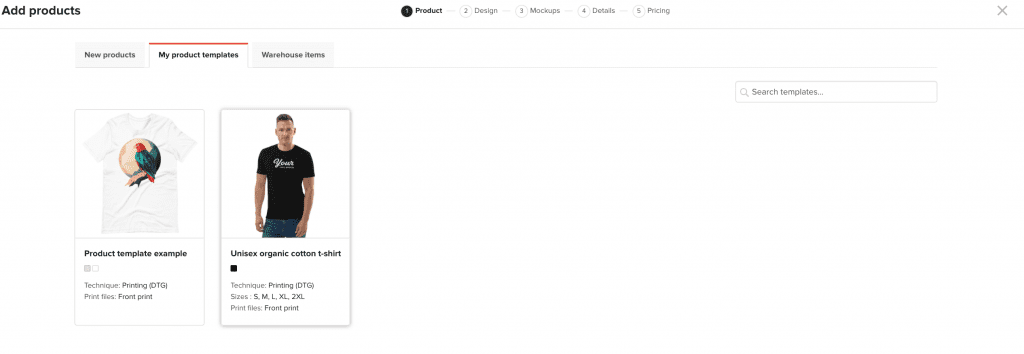
Select my product templates and select the product template that we made earlier.
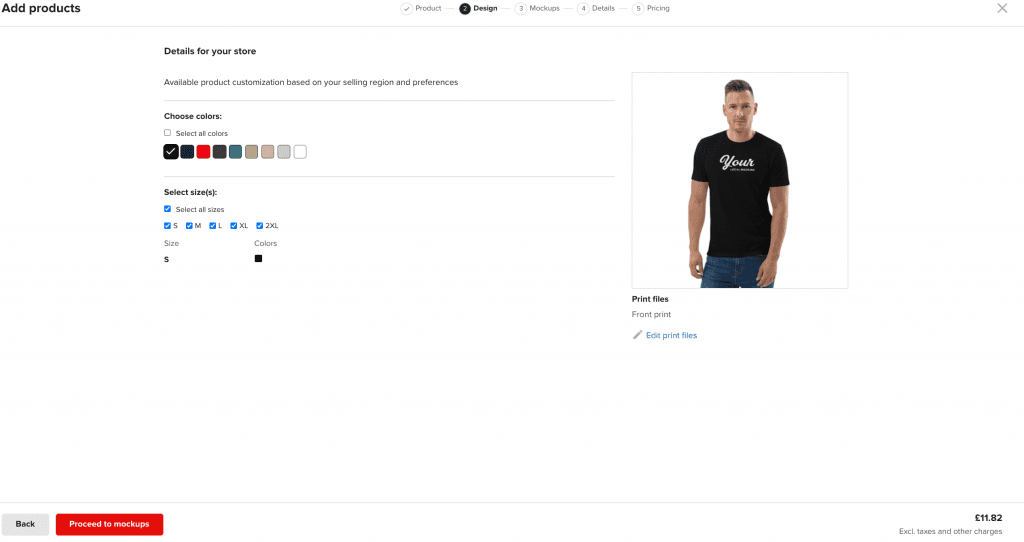
Finalise your colors and sizes then hit proceed to mockups.

In the next stage, you can choose between a variety of mockup styles that you can use as your product image on your website, for this we will stick to the default option and proceed onto the next step.
In the next stage we will name our product.
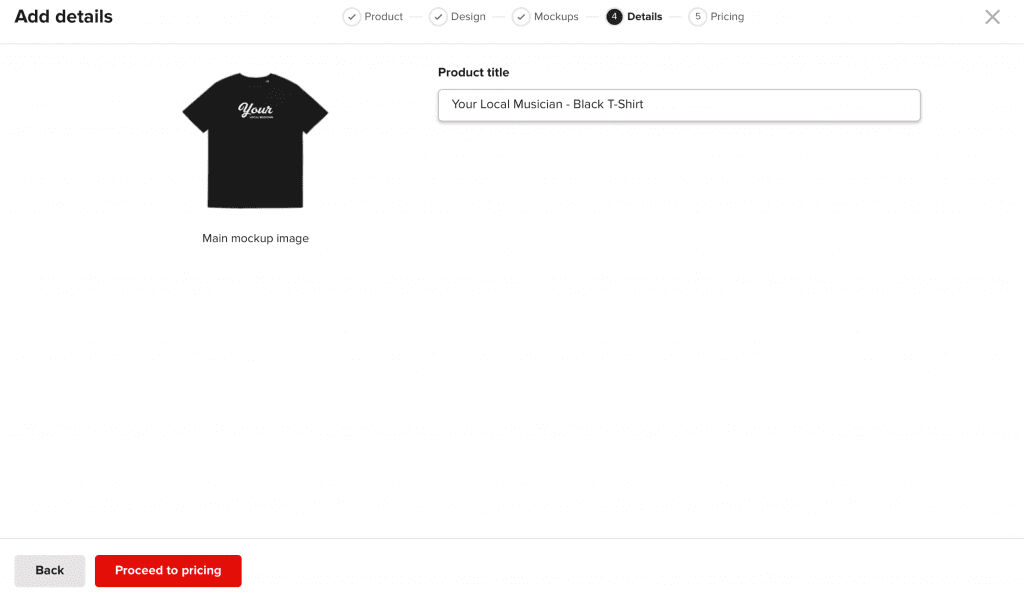
After you have named your t-shirt, it’s time to proceed the part of the process that everyone is thinking about, Pricing!
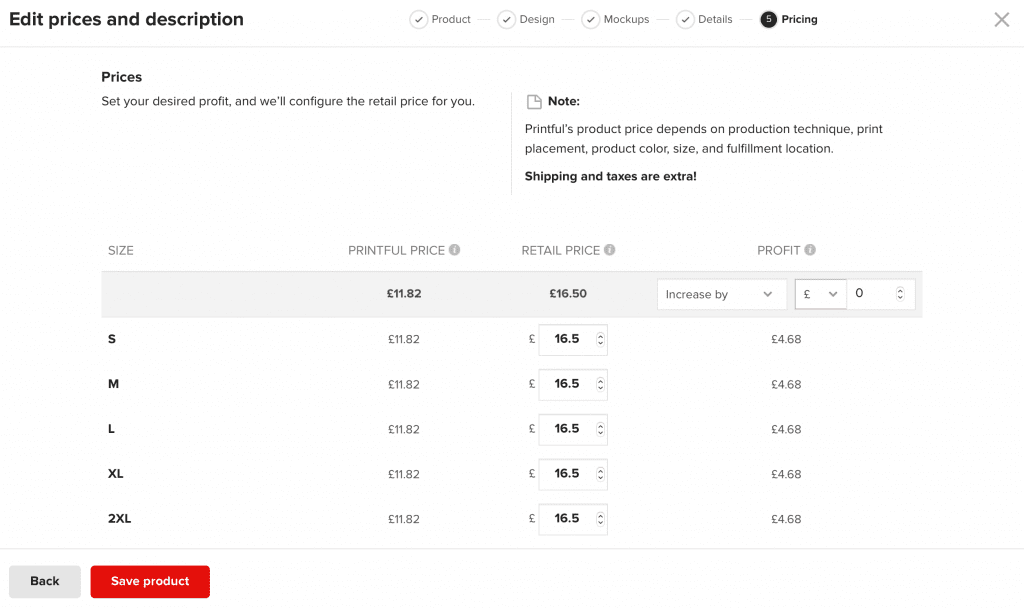
In the two middle columns you can see printful’s price to print the t-shirt, and in the retail price section you can set the amount you would like to sell your t-shirt for.
Once you’re satisfied, hit save product and you’ll be able to import it into WooCommerce and you’ll be able to edit your product further in WordPress and make edits to necessary fields such as the description.
Step #6 – Order Samples
Now that you’re ready to sell merch on your website, you may want to order samples directly from Printful so that you can check out the quality of the print that your customers will receive.
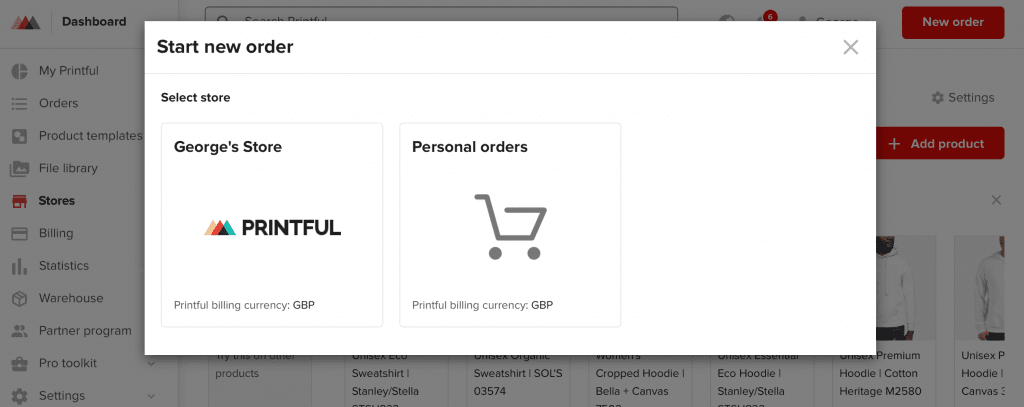
To order a sample hit new order in the top right hand corner of the screen and then hit personal orders.
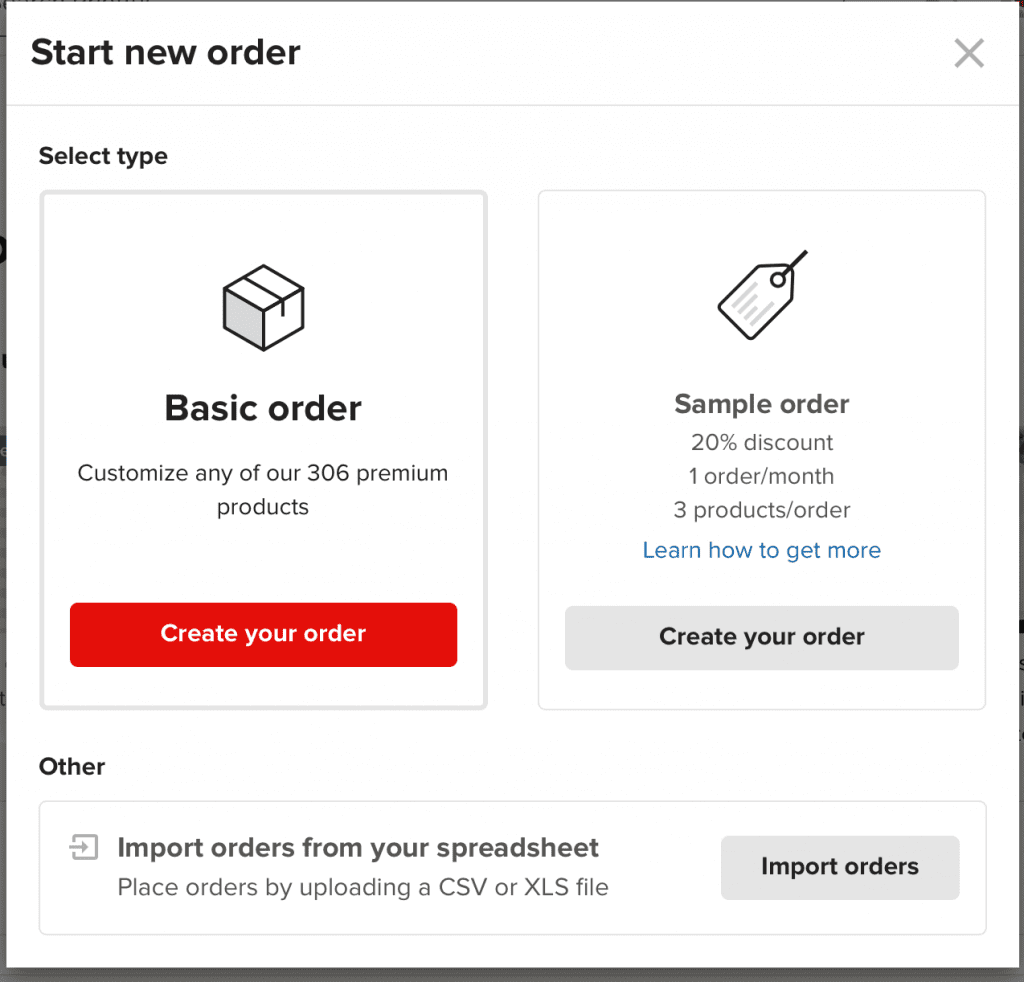
Then hit sample order to get a 20% discount on the order.
Select the product we made eariler and then proceed to the last stage in the order process fill out the shipping information and pay for the order.

I had the T-shirt delivered and this is the result.
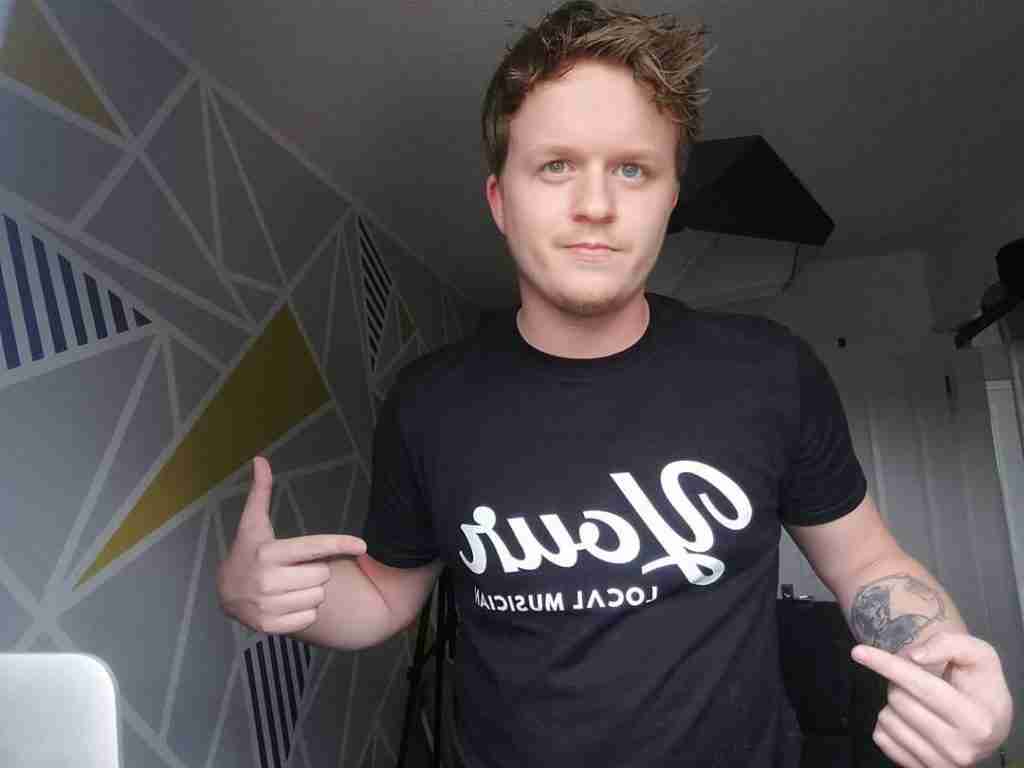
I ordered the t-shirt and this is what it looks like, the material feels comfortable to wear and overall, I would give a strong 10/10 out of for the whole service, after placing the order it arrived in 4 days, which I would say is more than adequate.
And that is how you set up your own merch store and start selling to your fans directly via your own website, almost on complete auto-pilot.
It doesn’t matter whether you sell guitar loops like us, or music to your fans, Printful is a great option to get started selling merch to your fans.
How does Printful help me brand my merchandise?
Not only can it completely automate the process of selling custom merchandise, but it also features is a wide range of additional built in marketing tools that can further help you develop your own brand.
Some of these additional tools and features are:
- Logo Maker (create a custom logo from scratch)
- Promo Maker (create instagram posts for your products)
Even though Printful’s primary function is to make it easy to create merchandise, these two tools are an excellent way to get started branding what you create.
Printful isn’t just for solo musicians, it is also the perfect choice to help create:
- Influencer merch
- Band merch
- Promotional products
With its integrated tools it is easy to seamlessly promote your products across your social media platforms and attract your ideal potential customer.
Printful Printing Methods
Does Printful use DTG?
Printful does use DTG to print products using Kornit machines and inks, you can also choose to use screen printing but this method is considered far less environmentally friendly.
What is the difference between DTG and Screen Printing?
DTG printing works in the same way as printing ink on paper, with this method ink is sprayed directly onto the garment and soaks into the fibres of the fabric, while screen printing uses a different method, ink is pushed through a woven screen onto the fabric but unlike DTG the ink lays onto of the fabric and doesn’t soak into it.
DTG vs Screen Printing, what is the better option?
Both options definitely have their differences, one boasts a better quality print, one is more eco friendly, and one costs significantly less than the other.
I have laid out their differences below:
| Screen printing | DTG | |
| High-quality prints | Yes | Yes |
| Detailed designs | No | Yes |
| Unlimited color palette | No | Yes |
| Order minimums | Yes | No |
| On-demand fulfillment | No | Yes |
| Bulk discounts | Yes | Yes |
| Requires upfront investment | Yes | No |
| More sustainable | No | Yes |
As you can see from the chart above the preferable option for most people would be DTG, the main reason being, the designs will provide better detail require no upfront costs for you to start selling to your fans and there no order minimums.
How to promote your custom merch
As a music artist there are a number of ways to promote your merchandise and start making sales.
Start by doing the following:
- Share your merch through your Facebook Page
- Share it on numerous Facebook Groups
- Integrate YouTube Merchandise
- Create ads
- Use your email list
- Get your friends to wear and talk about your merch to other people
In conclusion Printful provides an excellent solution for artists looking to sell merch to their music listeners, taking the old manual way of selling, nearly completely eliminating it’s costs, reduces stress and the best part being that you don’t have to invest a penny until you make a sale.


